Getting your WordPress site up and running doesn’t have to be a headache. Whether you’re tech-savvy or just starting out, this guide will walk you through the steps for launching a WordPress website using FTP, cPanel, or shell access. We’ve got your back with practical advice, troubleshooting tips, and a touch of encouragement to keep you moving forward.
Elements to Take Care of Before Launch
Launching a website is like packing for a big trip: you need to make sure you’ve got all the essentials. Let’s dive into the critical elements to handle before going live.
- Core WordPress Files

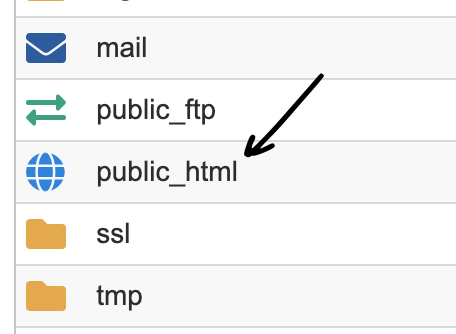
- The Process: Use FTP or cPanel’s File Manager to upload WordPress core files to your server’s root directory. Think of these files as the foundation of your site. They usually end up in public_html, htdocs, web or www folder of your hosting account.
- Common Problem: You’ve double-checked your FTP credentials, but the connection just won’t work. Sound familiar? This might happen if you’re using CloudFlare’s proxy service. In other words, CloudFlare is doing what it is supposed to be doing by hiding your actual host IP address even from your correctly supplied login credentials.
- Solution: Use the server’s actual IP address instead of the domain name in your FTP client. Log into your hosting control panel to find this information. Don’t let a proxy trip you up!
- Theme and Plugins

- The Process: Your theme sets the tone, and plugins add the bells and whistles. Upload them via FTP or cPanel’s File Manager. They are located in the wp-content folder and named accordingly: “themes” and “plugins”.
- Common Problem: Sometimes plugins fail to upload because of server size restrictions.
- Solution: Increase the upload limit in your server’s PHP settings or upload the plugin as a ZIP file directly through the WordPress dashboard. It’s a quick fix that saves frustration.
- Media Uploads
- The Process: Place all your images, videos, and other media in the
/wp-content/uploadsdirectory. These files are what make your site visually engaging. - Common Problem: Uploaded files aren’t displaying correctly. Permissions might be the culprit.
- Solution: Check and set the correct permissions: 755 for directories and 644 for files. You can do this through your FTP client or hosting control panel.
- The Process: Place all your images, videos, and other media in the
- Database
- The Process: Export the database from your staging site and import it into your live site using phpMyAdmin or a plugin.
- Common Problem: Large databases can hit size limits during import.
- Solution: Split the database file into smaller chunks or adjust the server’s PHP
max_upload_sizesetting. Patience and persistence pay off here.
Steps to Assure Smooth Sailing After Upload
With the files and database in place, it’s time to tie everything together. These steps ensure your site is live and functional.
- Connect the Database

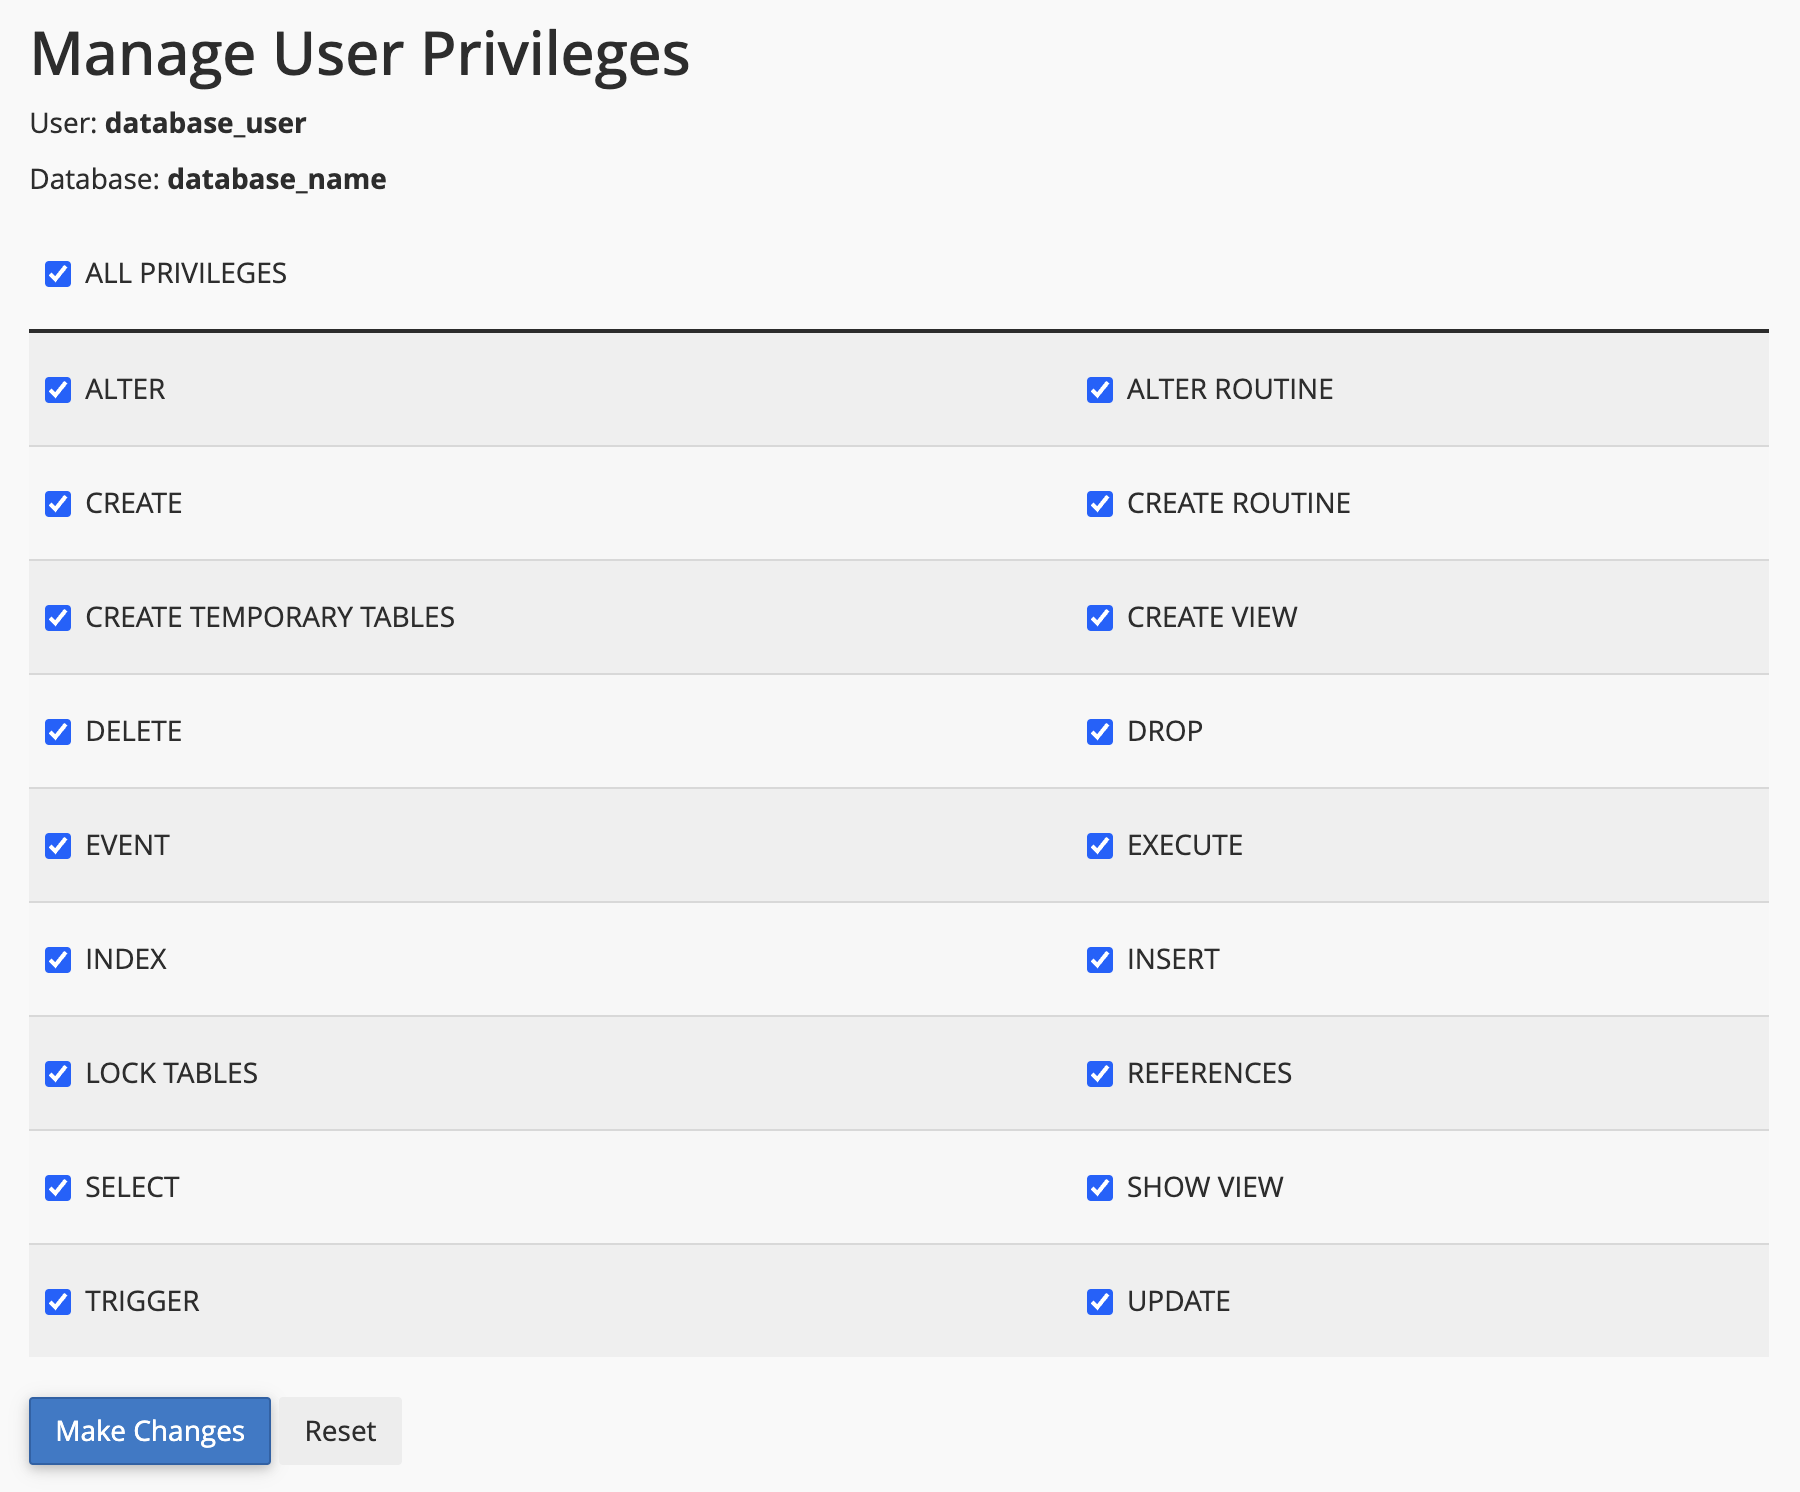
- The Process: Create a new database and user in your hosting control panel. Assign the user full permissions, then update the
wp-config.phpfile with the database name, username, password, and host. - Common Problem: A dreaded “can’t connect to database” error.
- Solution: Confirm the database host (usually
localhostor a specific server URL) with your provider. Testing your settings can save you hours of guesswork. - Replace URLs
- The Process: Update the site’s URL in the
wp_optionstable and run a search-and-replace script (or use a plugin like Better Search Replace) to swap staging URLs for your live domain. - Common Problem: Residual links to the staging site.
- Solution: Double-check and clear your site’s cache. A little diligence here ensures everything points to your live domain.
- The Process: Update the site’s URL in the
- Activate and Optimize Performance and Security Plugins
- The Process: Tools like Wordfence (security) and WP Rocket (caching) are your site’s bodyguards and sprinters. Activate and configure them.
- Common Problem: Plugins not playing nice together.
- Solution: Enable one plugin at a time and test your site. If something breaks, you’ll know exactly where to look.
- Submit Your Site for Indexing
- The Process: Use Google Search Console to submit your sitemap. It’s like handing out invitations to search engines to visit your site.
- Common Problem: Your site might be blocked by a noindex directive.
- Solution: Check your
robots.txtfile and WordPress settings to ensure indexing is allowed.
Shell vs. FTP vs. cPanel Launch Process
- Shell Access
- Best For: Tech pros who want full control.
- Common Problem: Misconfigured permissions.
- Solution: Use commands like
chmodto set proper file permissions and avoid surprises.
- FTP
- Best For: Those who like simplicity.
- Common Problem: Interrupted uploads.
- Solution: Use an FTP client with resume support (e.g., FileZilla) and verify uploads. Incomplete files can derail the process.
- cPanel
- Best For: Beginners or anyone who loves a good visual interface.
- Common Problem: Hidden files like
.htaccessnot showing. - Solution: Enable the option to view hidden files in cPanel’s File Manager. It’s the little things that count.
Post-Launch Tips for Security and Performance
Now that your site is live, let’s ensure it stays fast, secure, and optimized.
- Use a Custom Database Prefix
- Tip: Replace the default
wp_prefix with something unique (e.g.,mydb_) to reduce vulnerabilities.
- Tip: Replace the default
- Create a Non-Default Admin Username
- Tip: Steer clear of the overused “admin” username. Pick something distinctive and secure to thwart brute-force attacks.
- Secure Your Site Further
- Tip: Install an SSL certificate and redirect HTTP to HTTPS. Mixed content warnings? A plugin like Really Simple SSL can help.
- Optimize for Performance
- Tip: Implement a CDN and enable lazy loading for images to keep your site running smoothly.
- Common Problem: Plugins may override caching settings.
- Solution: Test thoroughly to ensure all performance features work harmoniously.
In Conclusion
Launching your WordPress site doesn’t have to be overwhelming. With these practical steps, troubleshooting tips, and our “we got your back” guidance, you’re set up for success. Whether you prefer FTP, cPanel, or shell access, this guide ensures a smooth, secure launch and a path to continuous improvement in performance and security. As always, if unsure – we are here to help.


